Mittens and mittens from an old sweater
“Winter is coming” is not only the motto of House Stark from Game of Thrones, but also quite a fact! On the calendar, September 14 and 10 degrees above zero… While going through seasonal items, I discovered that I don’t have a single pair of mittens. Since I can’t get into the mood for knitting, I decided to sew mittens from a felted sweater, of which I’m currently carrying bags in second-hand stores. I adapted a couple of master classes on mittens and mittens from sweaters from foreign blogs.
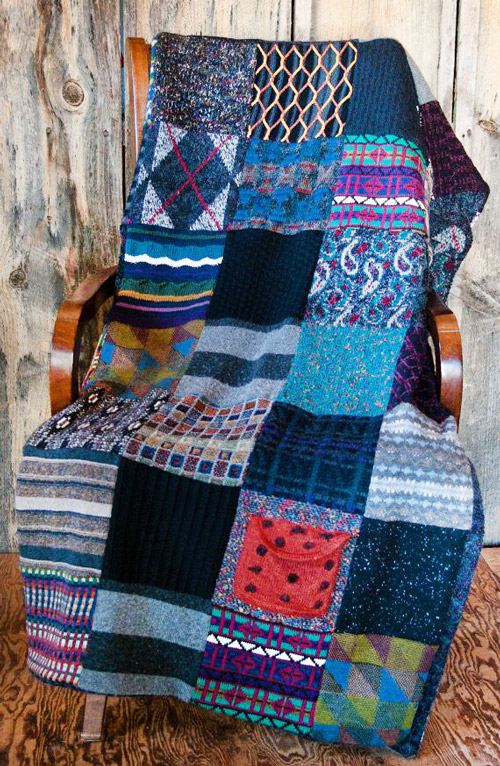
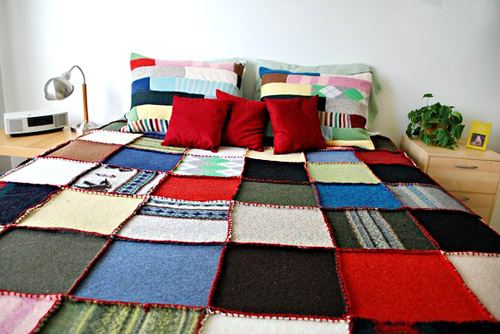
Let’s start with the fact that a pair of homemade mittens can be a cute gift for the winter holidays. From a penny sweater you get at least 2 pairs of mittens and a bunch of blanks for a blanket - two in one. Cutting and sewing takes no more time than running around pre-holiday sales in search of worthy gifts for loved ones.
Mittens made from sweaters (option without felting)
We will need:
- 2 sweaters
- Some fabric for the lining (fleece is preferred)
- Buttons
- Patterns-templates
- Pins, threads, needles and meter tape.
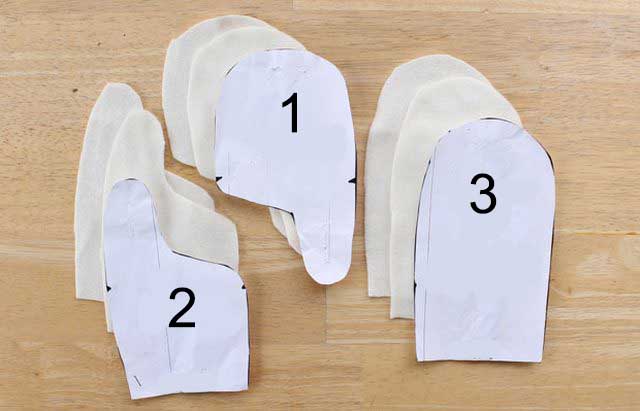
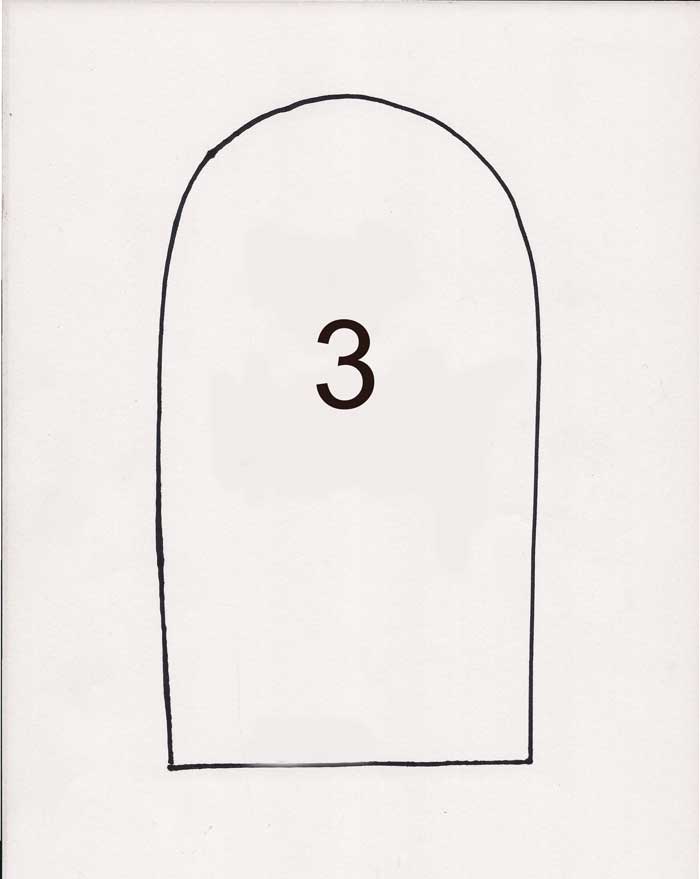 Patterns for mittens
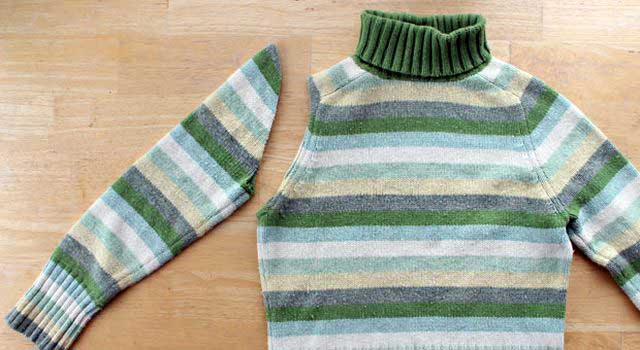
1. Cut off the sleeve to use for the top of the mitten.
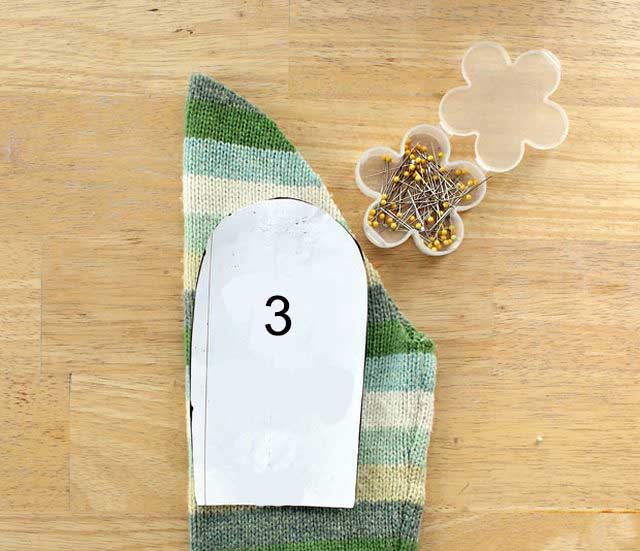
2. We attach template No. 3, as shown in the photo. If you are the happy owner of a striped sweater, then you should make sure that all the stripes match.
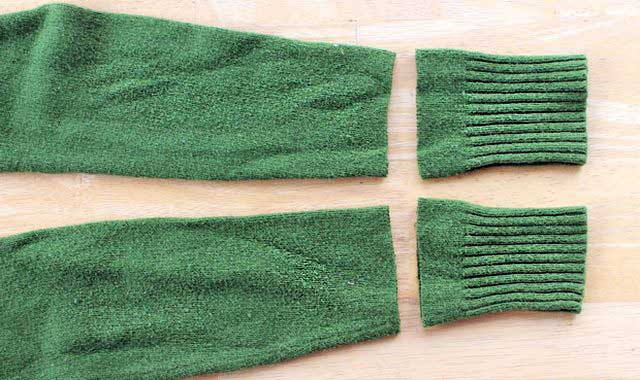
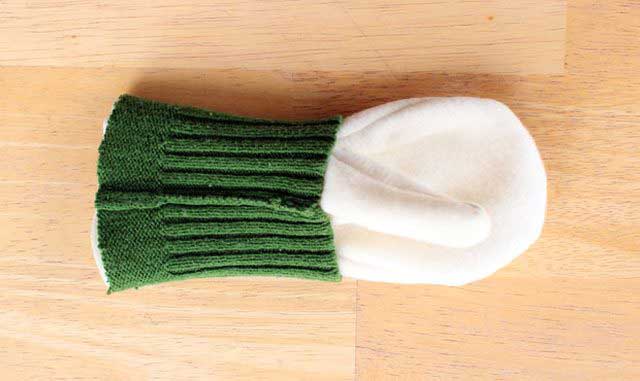
 3. Cut off the cuffs and 2-3 centimeters of the sleeves of the second sweater, as in the photo.
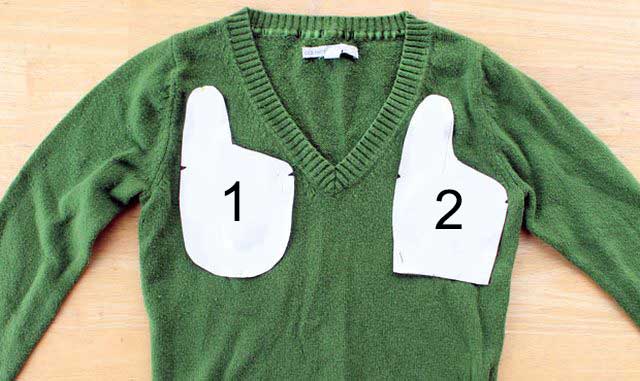
 4. We cut out template No. 1 and No. 2, we get 4 parts.
 5. Take the time to lay out the freshly cut pieces in such a way as to make sure that you have the right and left palms available.
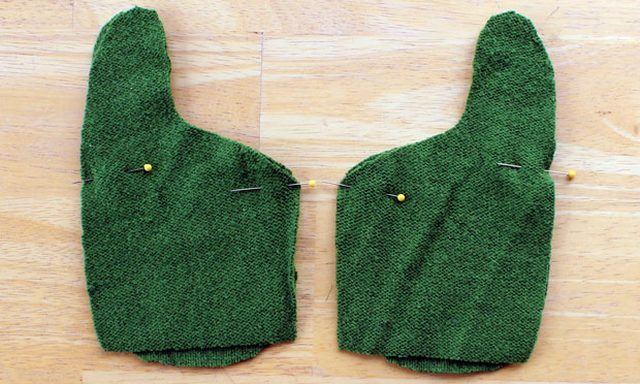
 6. Place your palms together as in the photo. Sew together from the base of the thumb to the base of the little finger.
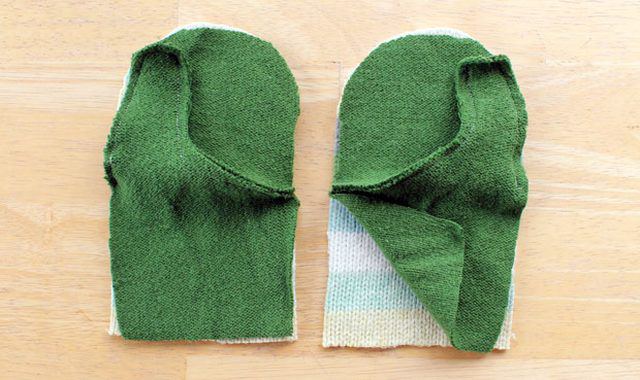
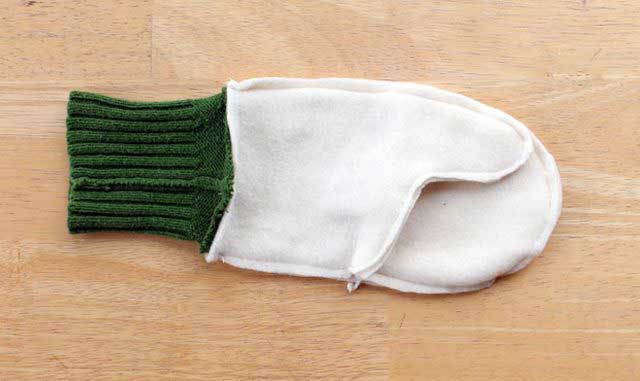
 7. We unfold the shreds as shown in the photo.
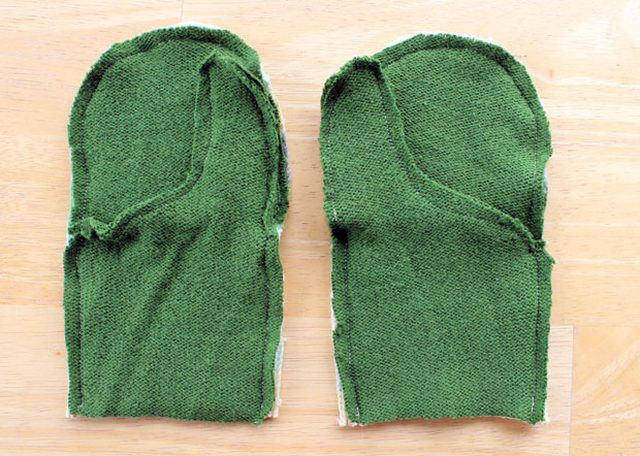
 8. We sew together pieces of palms with a striped top, leaving the bottom unstitched.
 9. We repeat all this with the fabric for the lining.
 10. We turn the lining right side out and put the cuff on it. Sew the cuffs to the lining.
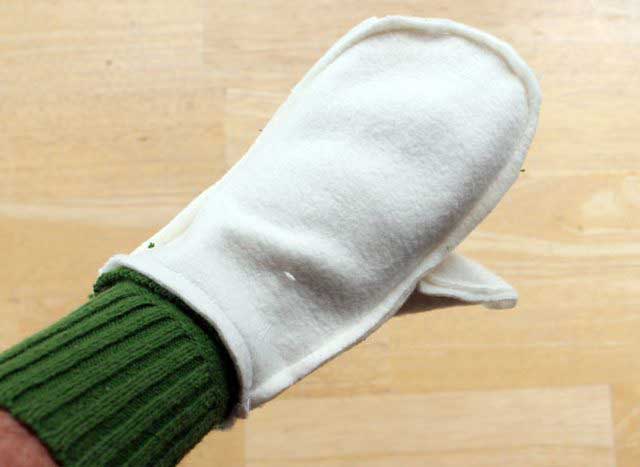
eleven. Turn the cuffs away from the lining.
 12. Let’s try on!
 13. We put a face mitten on the hand, turn up the cuffs.
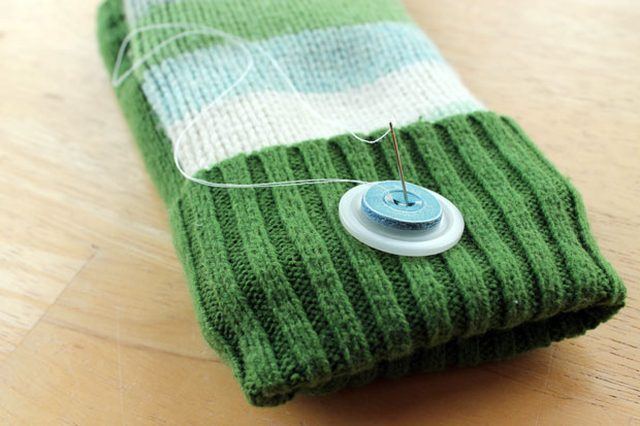
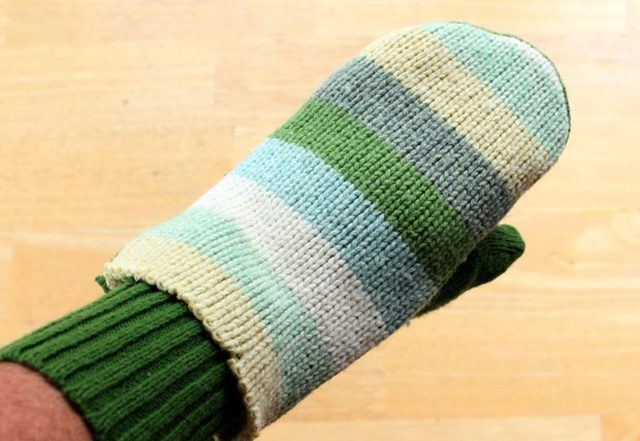 14. Secure the raw edge of the mitten with a button on the cuff.
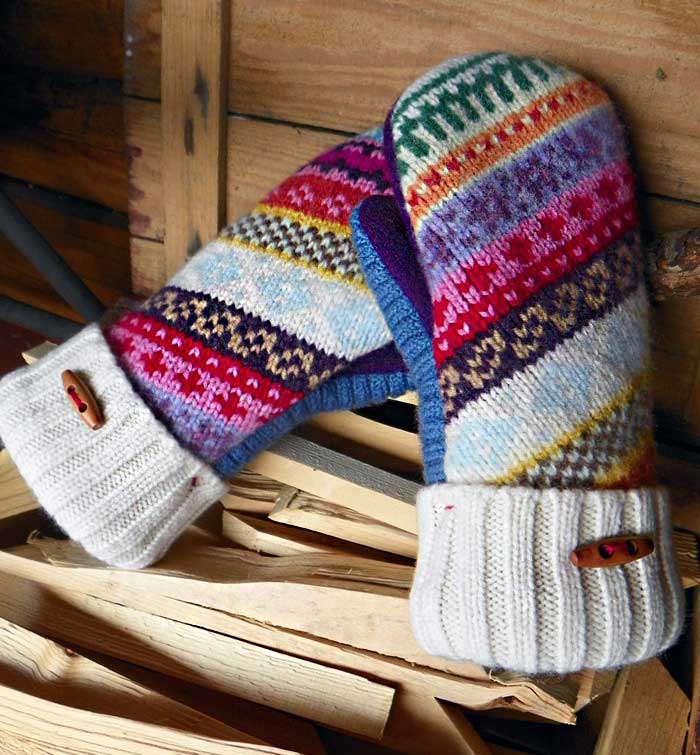
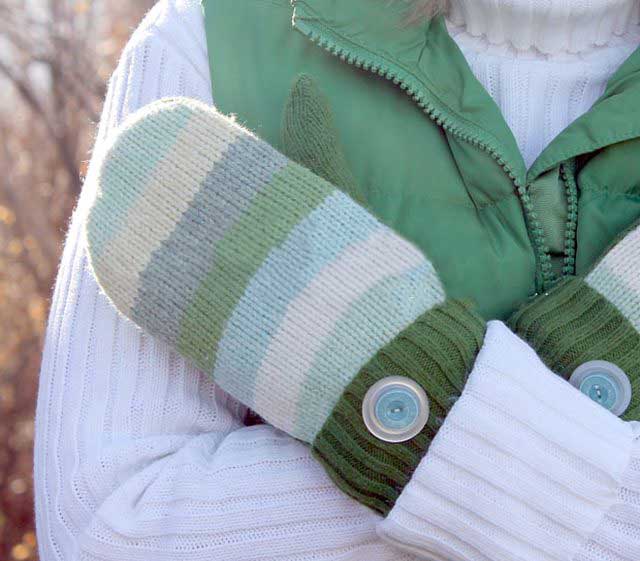
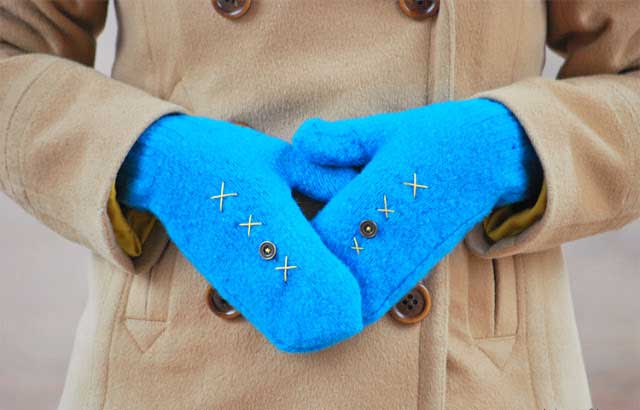
 Now you have a wonderful, inexpensive handmade gift - a pair of warm, cute mittens!
Mittens made of a woolen sweater
Another master class with simpler mittens - without lining.
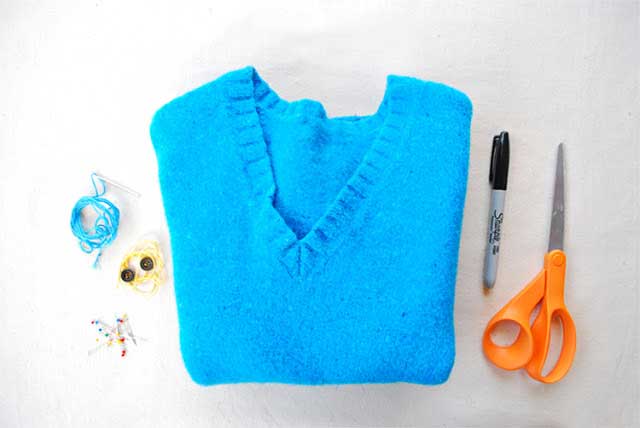
What we need:
- Wool sweater (felt. You can see how to felt a sweater here)
- Chalk (I don’t recommend using a marker)
- Scissors
- Pins
- Decor
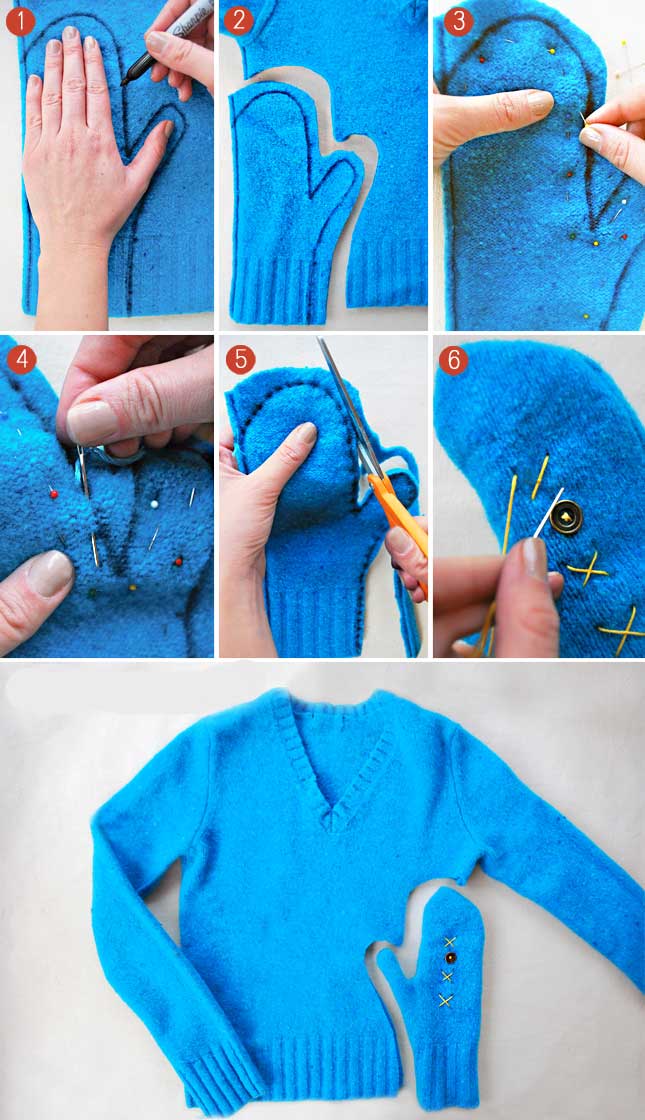
1. Let’s prepare a sweater. You can
felt
it in the washing machine, or you can do it by hand - wash in hot water, rinse in cold, dry with hot air. This is just one of the options. 2. Turn the sweater inside out, place your palm on it and trace it. 3. Cut the workpiece just above the intended line. 4. We baste the halves and check that our brush easily fits into the cuff of the mittens. 5. Let’s be compassionate. 6. Carefully trim off the excess fabric from the inside. 7. Decorate our mittens.
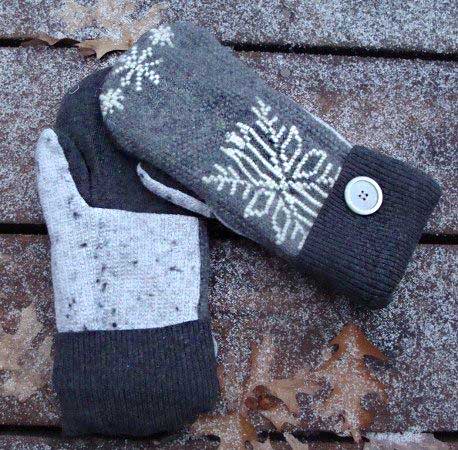
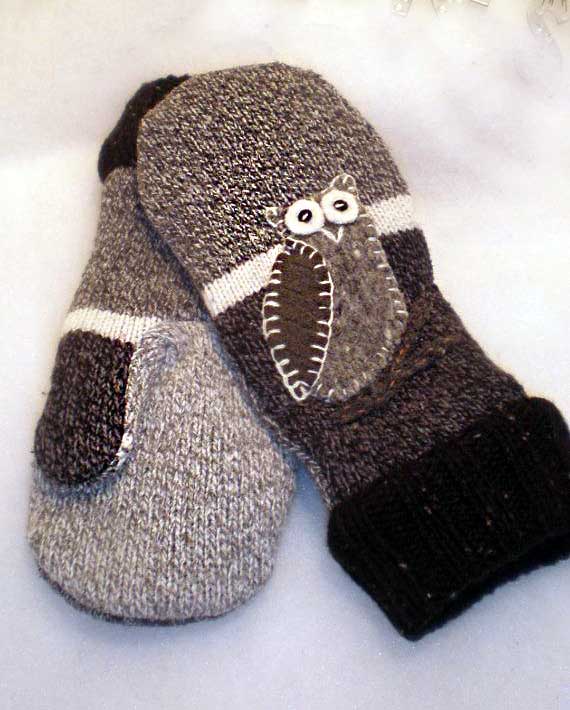
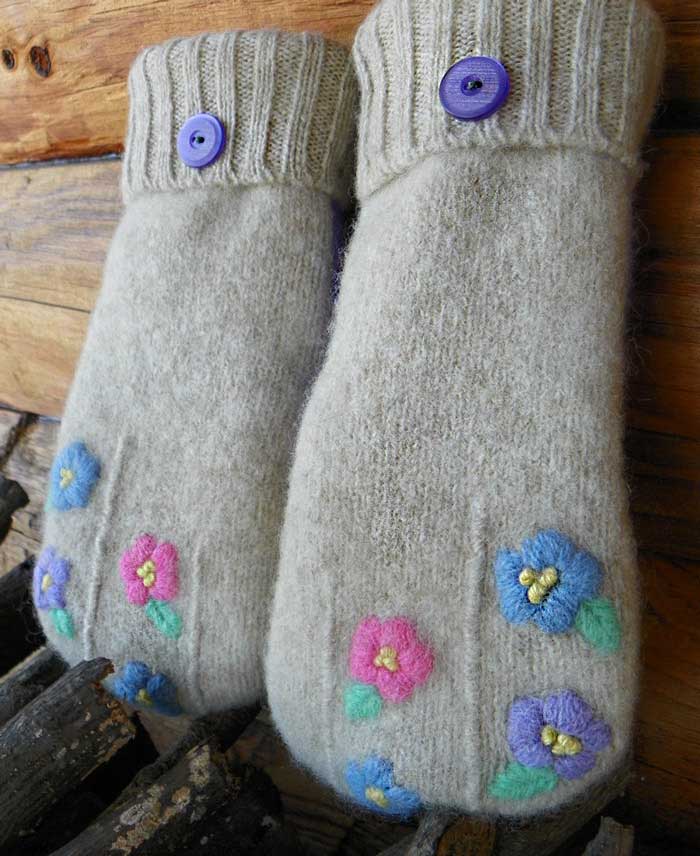
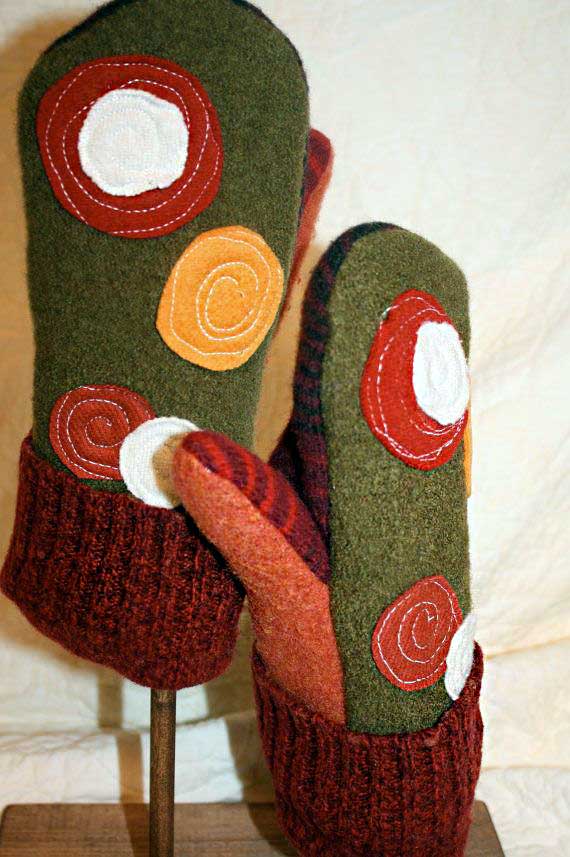
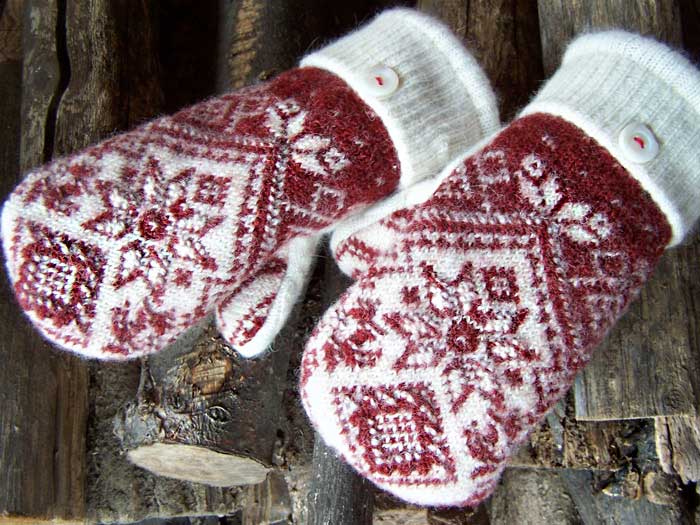
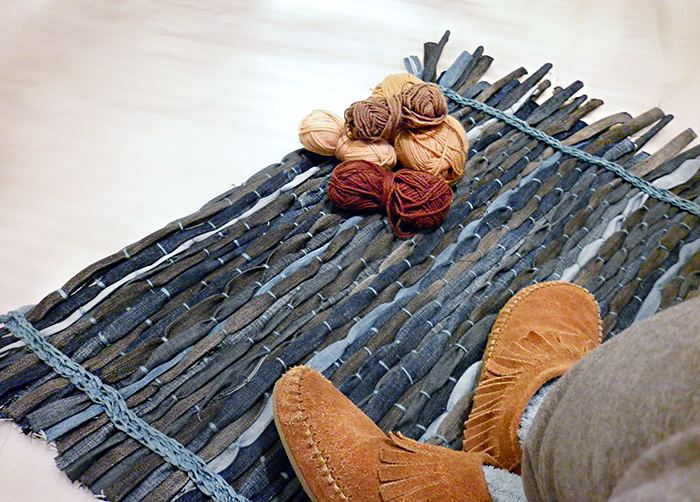
Finally, a few variations on the theme: