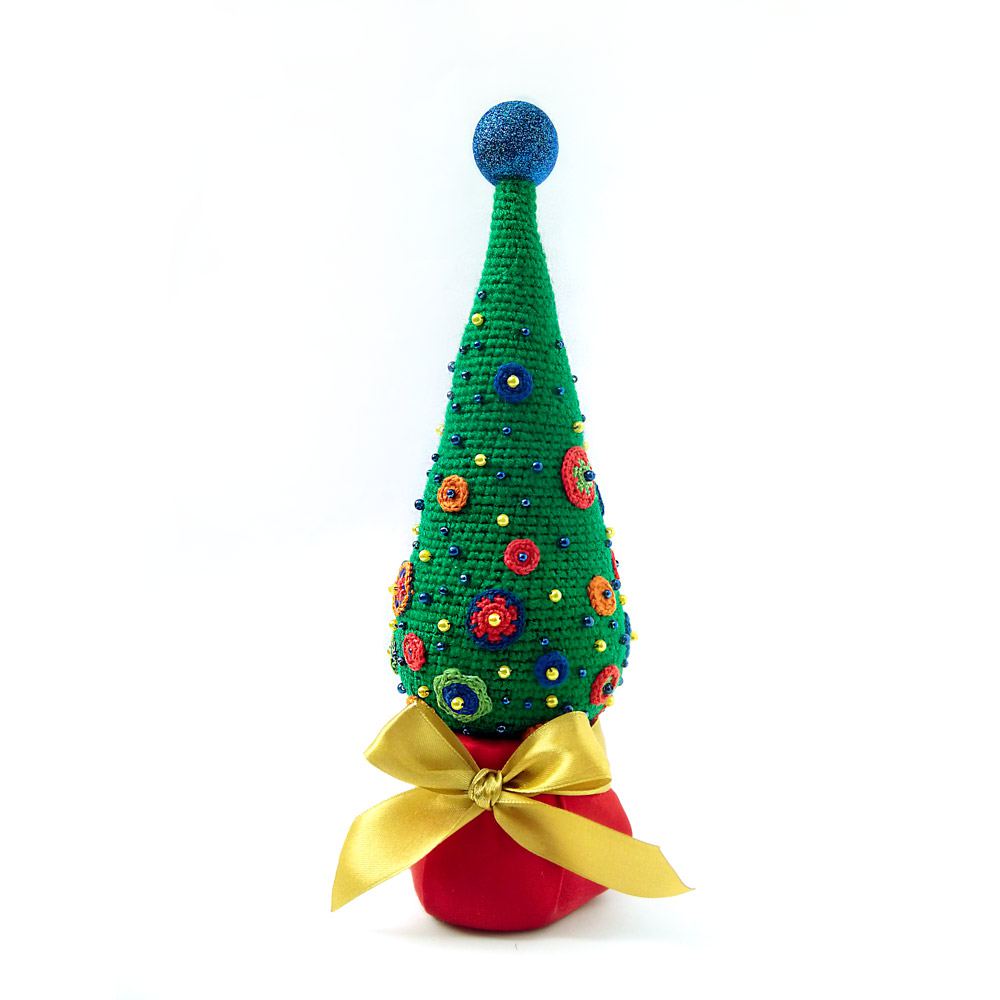
Crochet Christmas tree Grushka. Master class
Crochet Christmas tree in the shape of a pear. I continue my Christmas tree master classes. This time we start knitting from the crown of our tree))). We knit 5 single crochets into an amigurumi ring.
 Amigurumi ring
2nd row: 2 single crochets and one increase (+1) 3rd row without increases. 4th row: 3(+1) 5th row without increases. 6th row: 5(+1) 7th row without increases. 8th row: 4(+1) 9th row without increases. 10th row: 5(+1) 11th row without increases. 12th row: 5(+1) 13th row without increases. 14th row: 5(+1) 15th row without increases. 16th row: 8(+1) 17th row without increases. 18th row: 10(+1) 19th row without increases. 20 row: 13(+1) 21 row without increases. Row 22 10(+1)
In the 23rd row we make the increase as if in a checkerboard pattern. The first increase is 5(+1), then 10(+1). This technique eliminates distortions in the knitted fabric, knitting looks more neat and proportional.
Row 24 without increases. 25th row: 10(+1) 26th row without increases. 27th row: 10(+1) 28th row: 10(+1) in a checkerboard pattern. Rows 29-30 without increases. 31 row: 15(+1) 32-38 rows without increases. Next we start decreasing: 39 row 15(-1), 40 row 15(-1), 41 row 10(-1), 42 row 8(-1 ), 43rd row 6(-1), 44 3(-1). Don’t forget to fill the Christmas tree with padding polyester. Moving on to finishing. We tie a border of single crochets in a spiral.
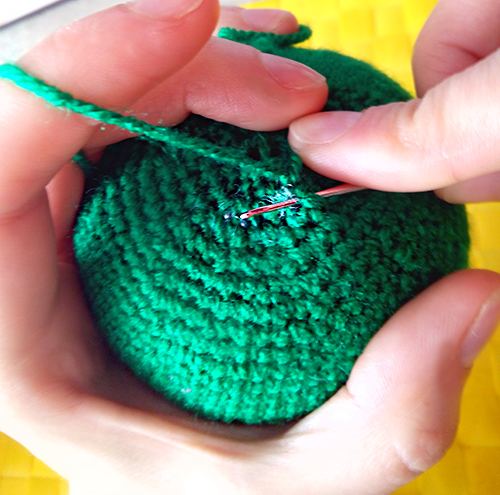
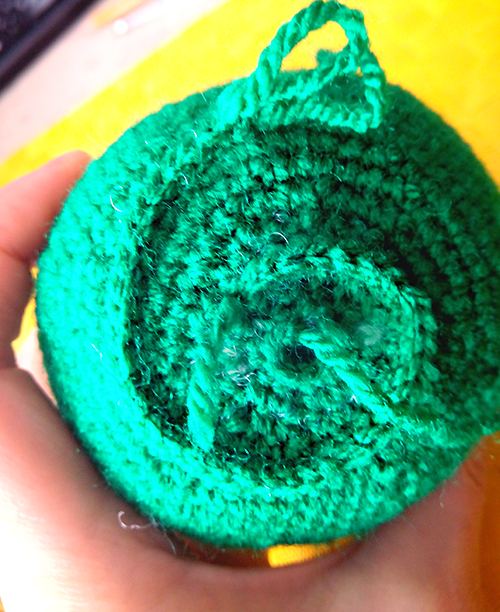
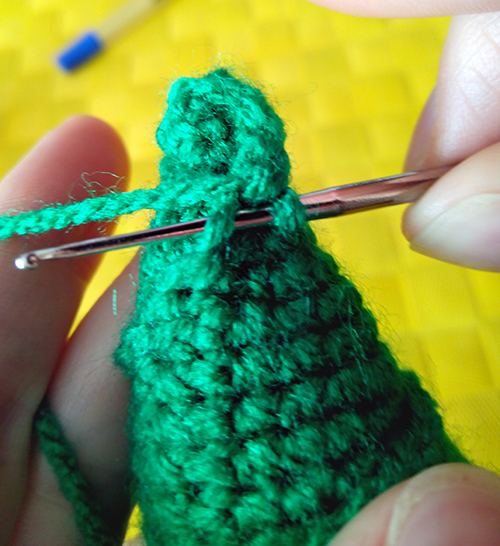
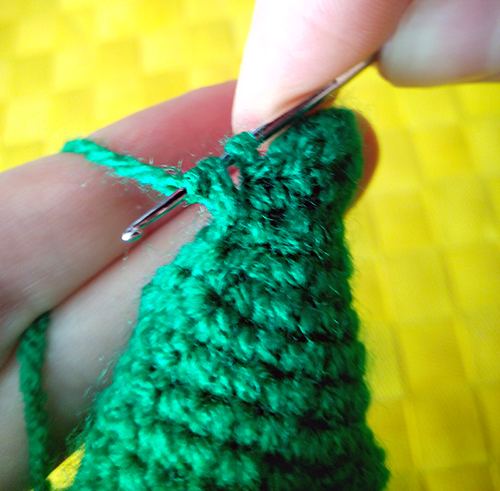
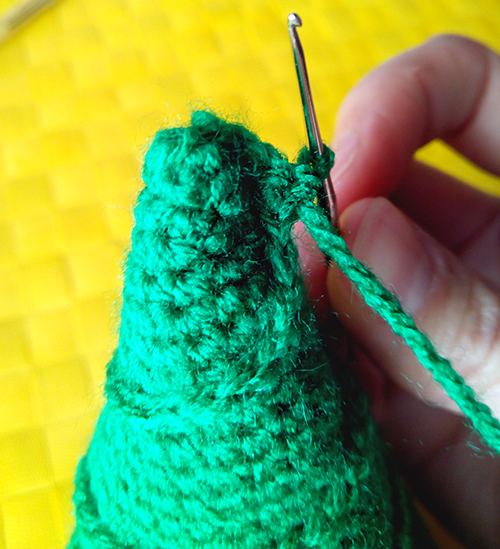
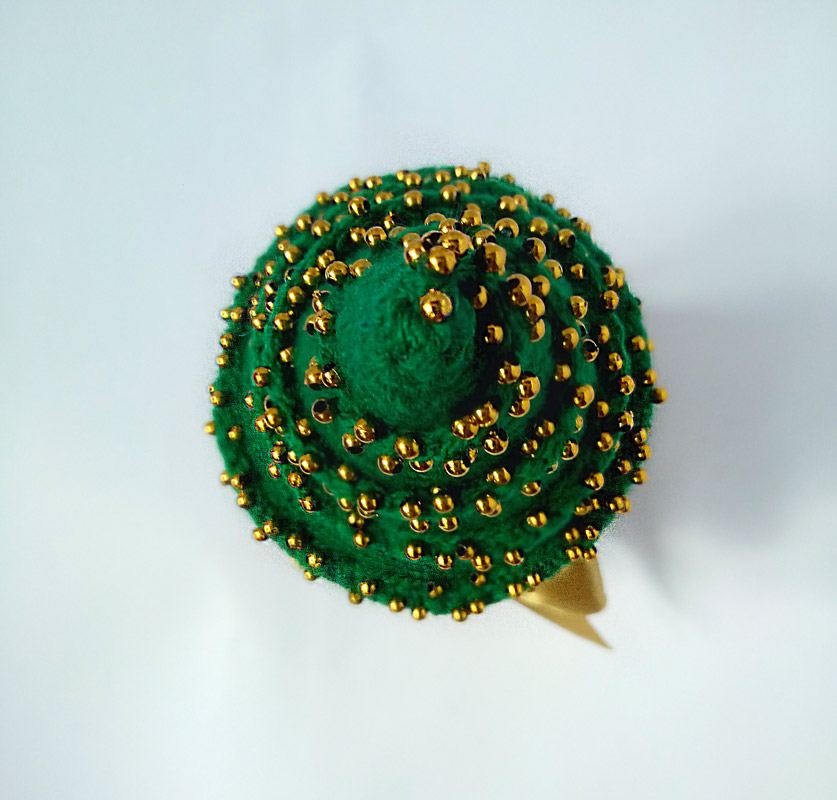
We start with 8 single crochets and go up in a spiral - the higher, the fewer stitches in the tier. There can be as many rows as you like, in my case 2 rows. Decor and base at your discretion.
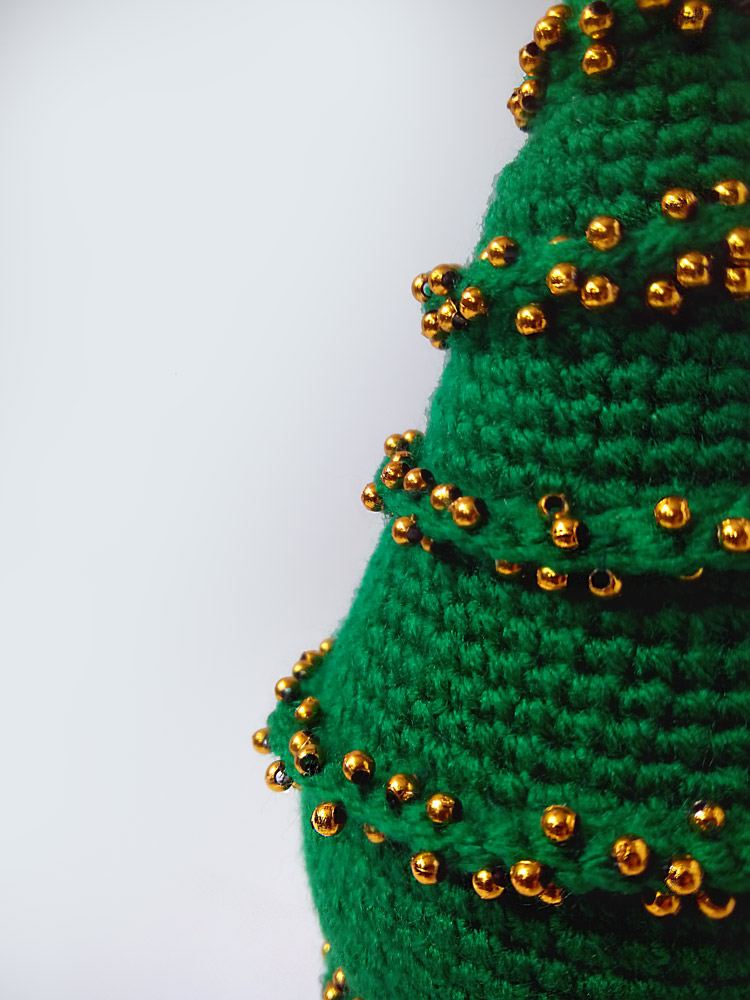
 Crochet Christmas tree
You can buy such a Christmas tree here