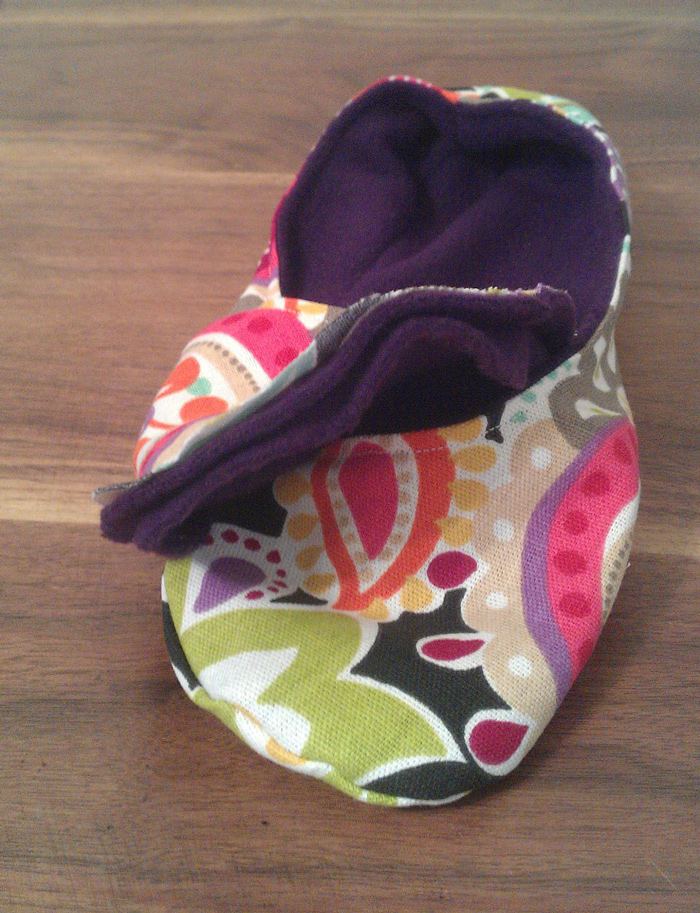
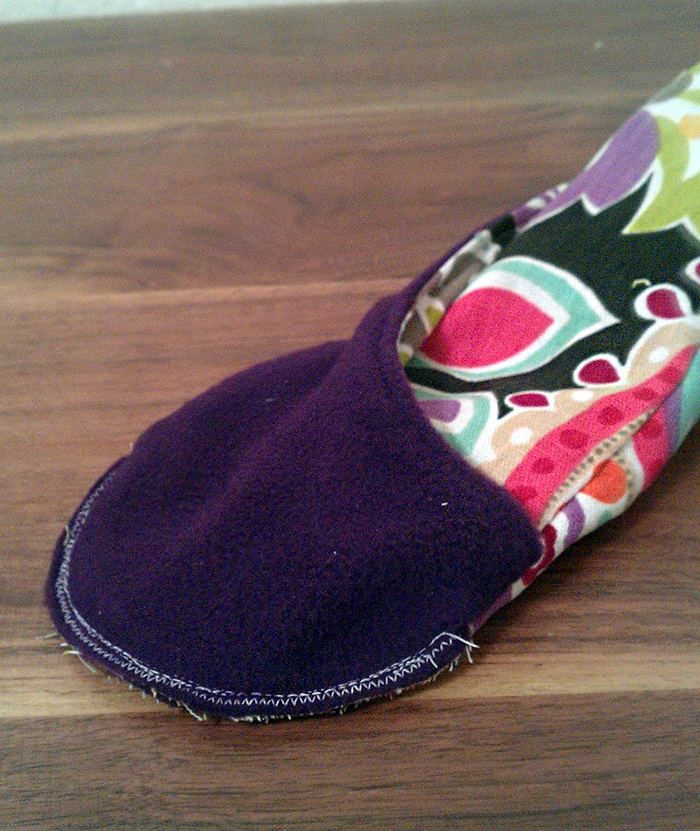
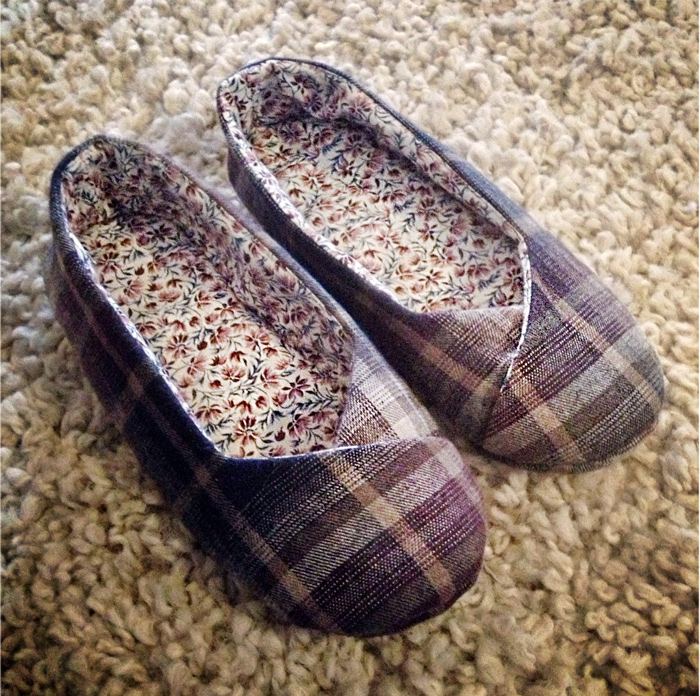
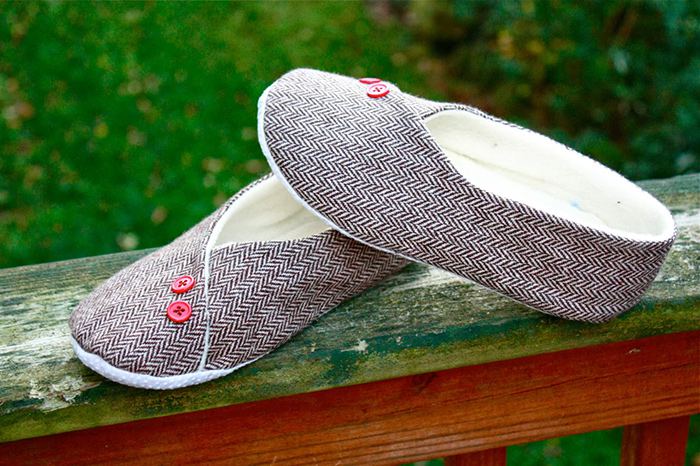
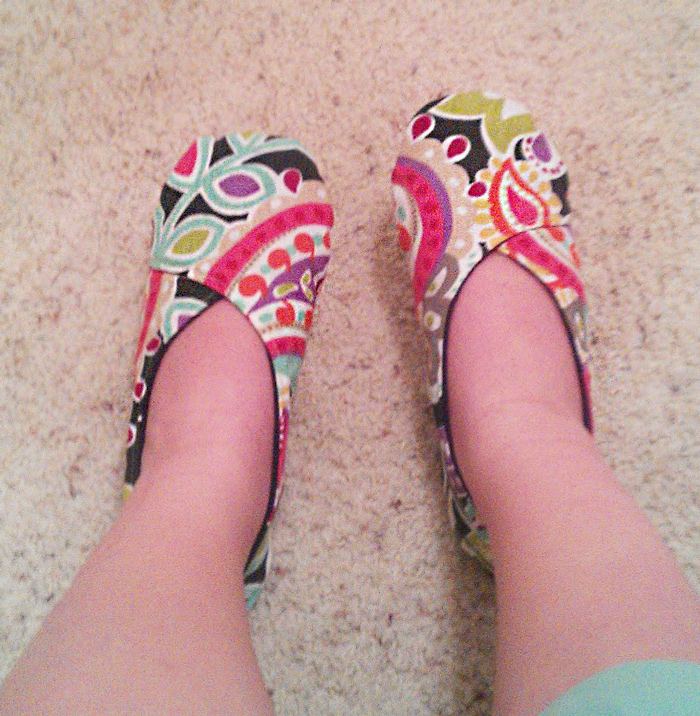
How to sew slippers with your own hands
I translated an excellent step-by-step master class on how to sew slippers with your own hands. Included is a slipper pattern and instructions on how to sew kimono style slippers. I plan to use MK myself in the near future, but perhaps in a slightly more simplified version.
Necessary materials:
- Pattern on paper.
- Pins or clips.
- Fleece scraps for the inside.
- Scraps of cotton fabric with a dense weave, eco-leather, or any dense wear-resistant material.
- Decorations of your choice (ribbons, lace, beads, buttons…).
How to sew slippers with your own hands
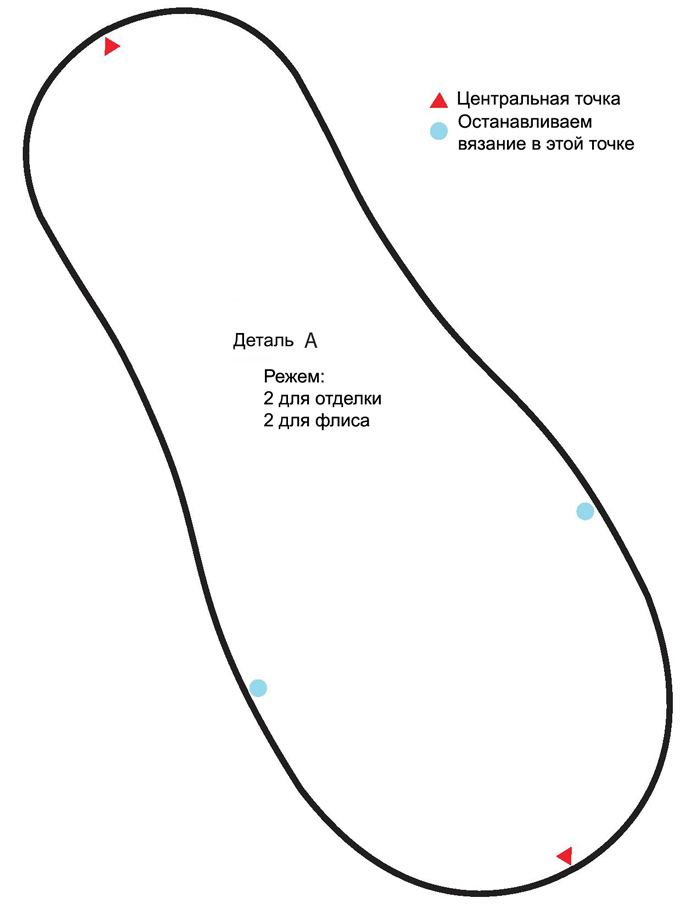
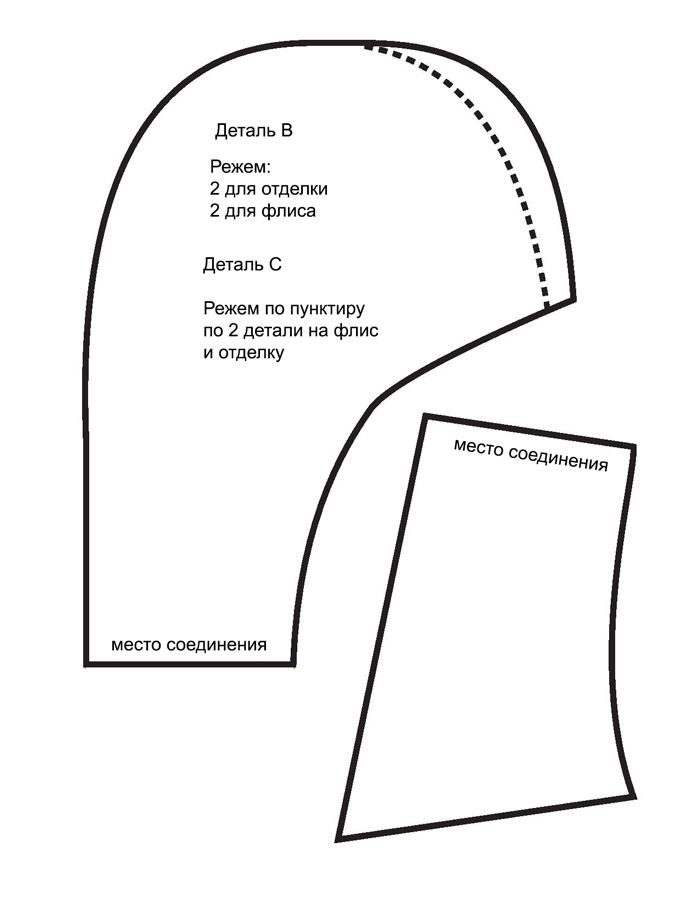
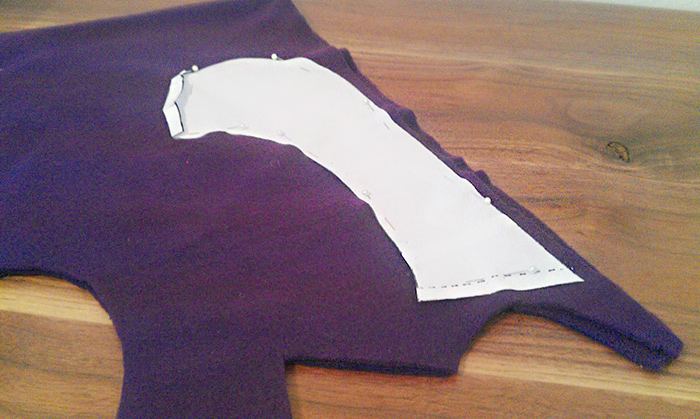
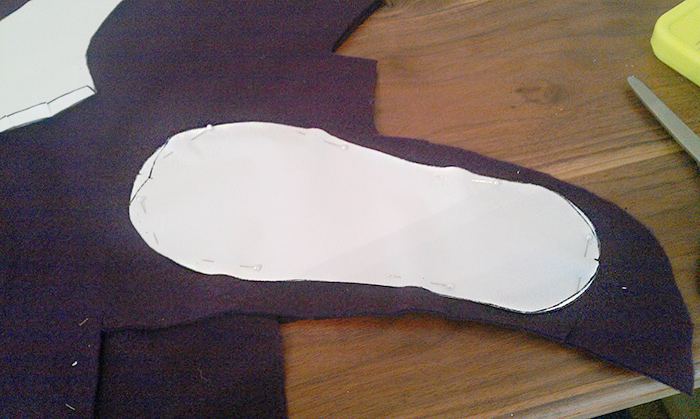
- Cut out patterns. Cut out the parts according to the template.
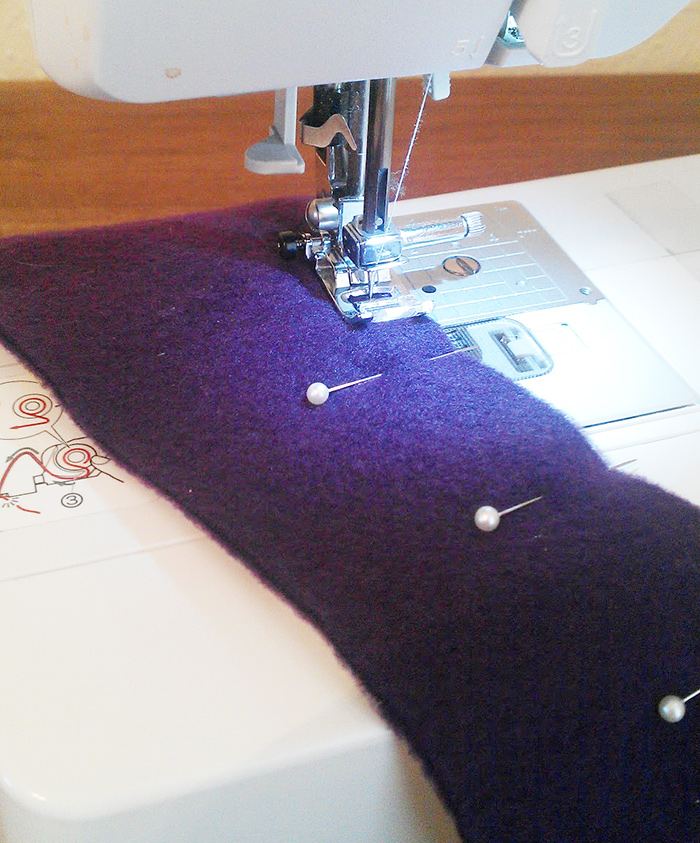
- We pin (or baste, as it suits you) with the front side inward. We get two parts a little larger, and two a little smaller (B, C).

- Sew along the concave line (B, C), leaving a small allowance.
- Cut along the allowance (B, C).
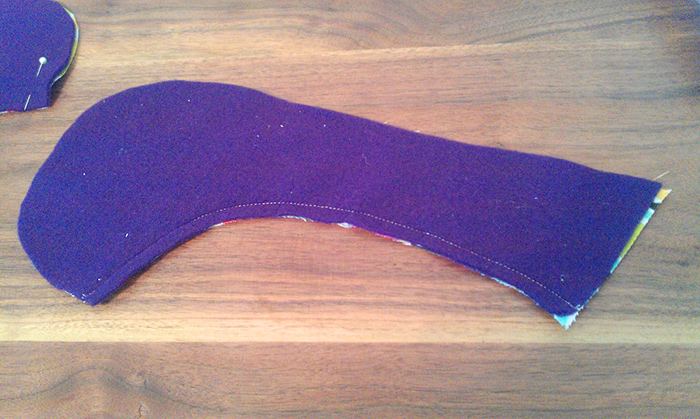
- Iron face out (turn it inside out).
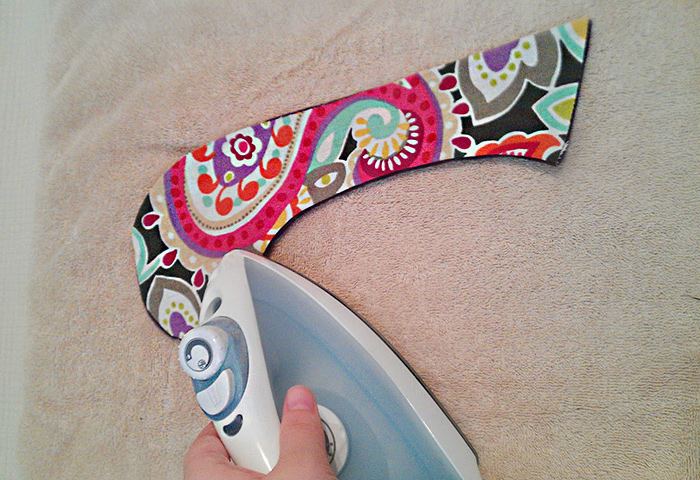
- Connect the edges of the large and small pattern (B, C).
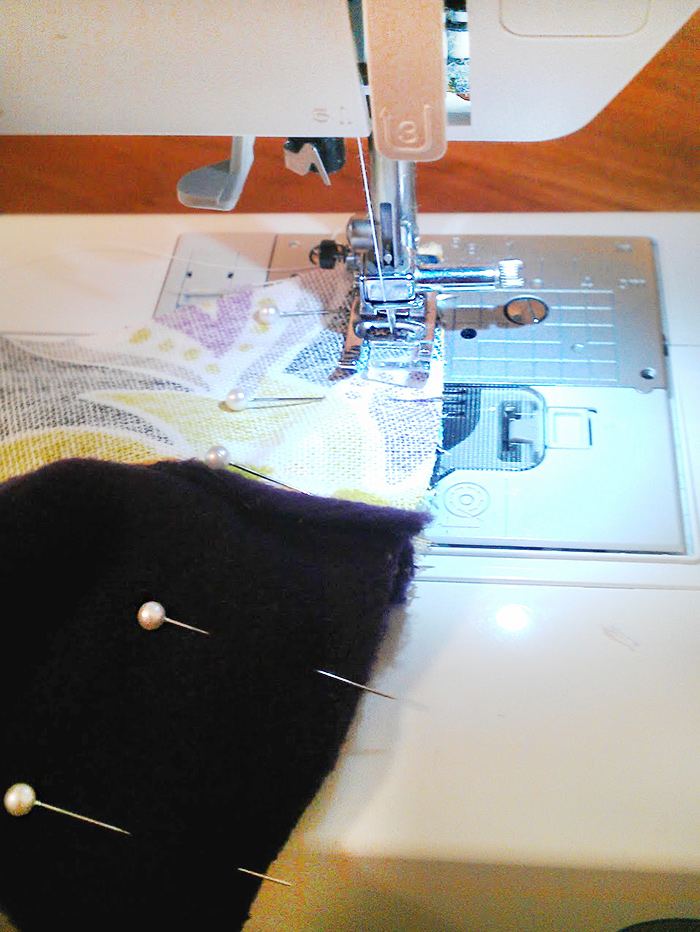
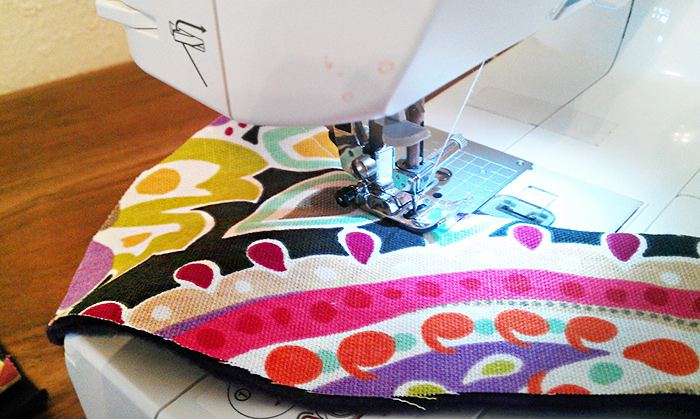
- Stitch.
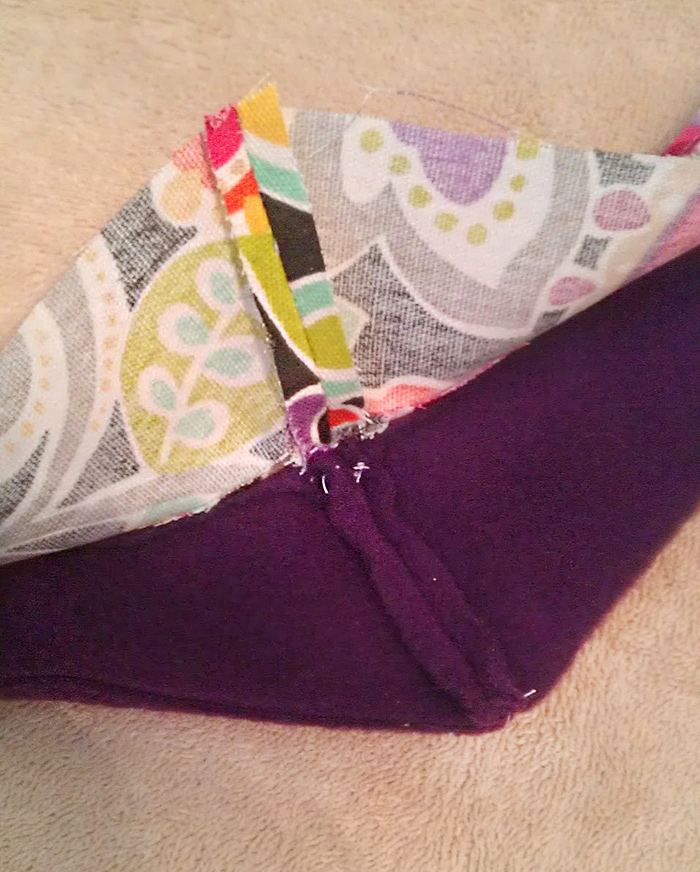
- We go along the front straight stitch to create the finished look (B, C).
- Attach part B\C to the inside of element A, with the outer sides facing each other so that the back seam coincides with the red triangle (A,B,C).

- Sew along the blue marks, leaving an allowance of about cm (A, B, C).
- We fasten the outer side A to B\C facing each other, the back seam should coincide with the red triangle (A, B, C).
- Sew from blue dot to blue dot. (The slipper should look like a tulip).

- Turn it inside out.
- We fasten the inner part and outer parts C with the wrong side A (A,C).
- Stitch as close as possible to the blue mark, along the edge C (A, C).

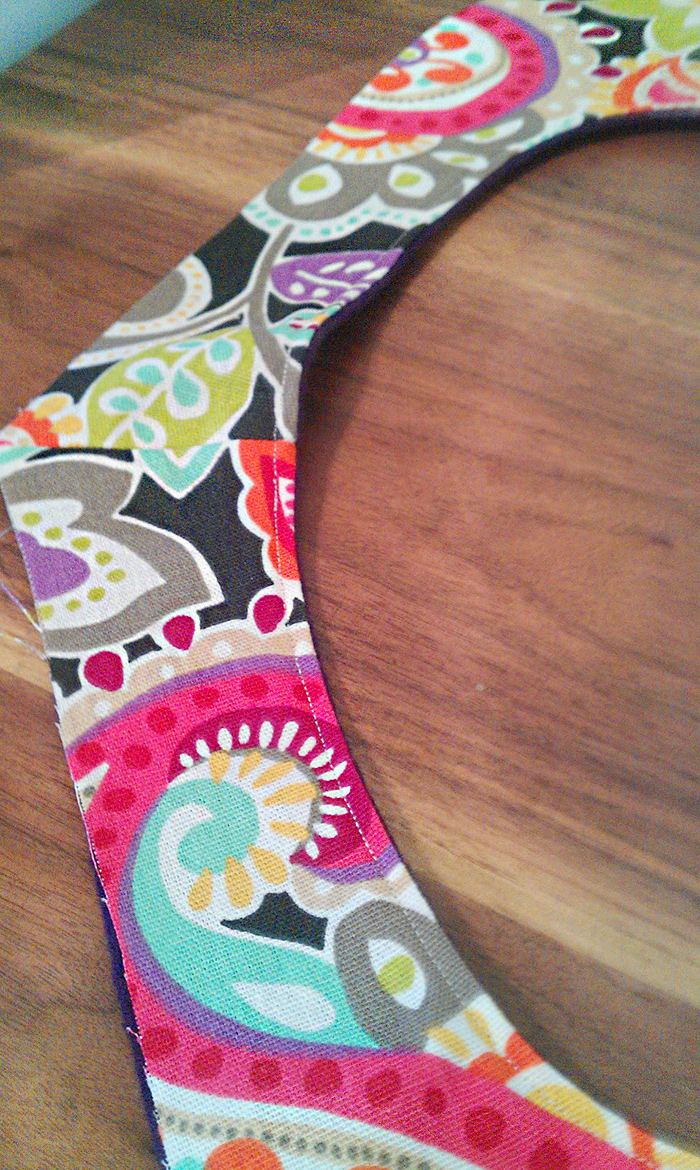
- Attach the front and back side B to face A (A,B).

- Stitching. It looks like this:
- Turn the slippers inside out.

- Sew about 4 cm on each side. From the blue dot to detail B\C.
- Finish with a zig-zag seam, trim off the excess.

- Turn it inside out.
Translating specific sewing terms was not easy for me, and it shows. Constant repetition had to be avoided. But thanks to the photo, everything becomes clear besides the text.
Let’s just say these are the “perfect” DIY house slippers, with hidden seams and multi-layered. We can use a great idea on how to sew Japanese-style house slippers, but simplify the task with a felt sole and one layer of felted scraps from a woolen knitted sweater (for example). In general, I’m a fan of knitted slippers , since I started sewing quite recently and not always successfully :)
You might be wondering how to make a stylish skirt and children’s pants from a T-shirt /shem-detskie-shtany-iz-futbolki/).
